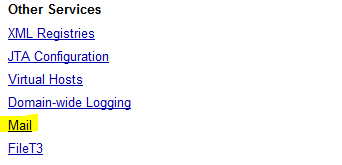
Click on Mail link below Other services section
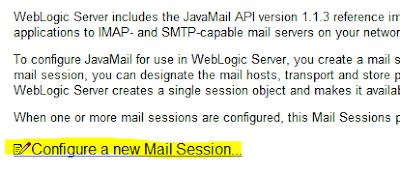
Click "Configure a New Mail Section"
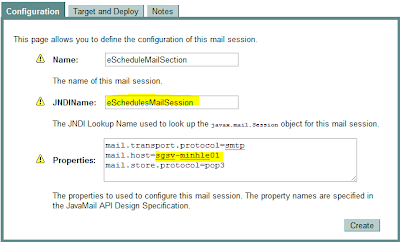
Enter the mail section information.
- JNDI name is used for reference in souce code
- Host name is the mail server name
Click Apply button
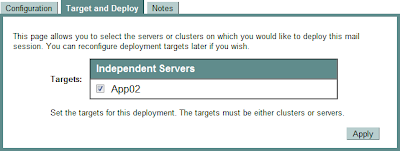
Select an application to deploy to.
Verify steps:
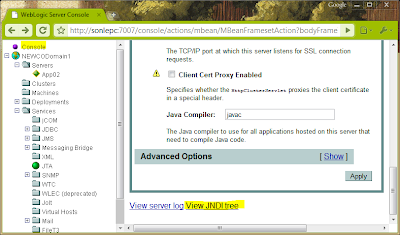
- Click on the Console link on the left panel
- Click on the View JNDI tree
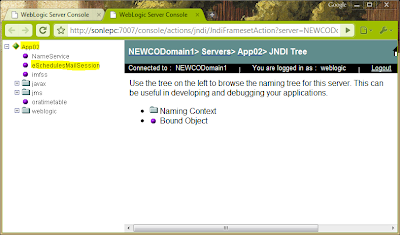
The created email section should be displayed on the left panel
No comments:
Post a Comment